
In place at the new building site.
Total 174 Hours
Bow tube in place.
Bow tube bonded in on both sides.
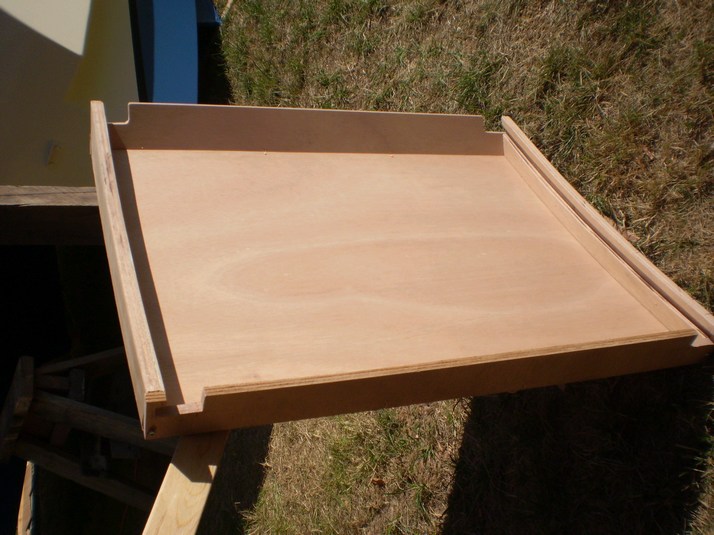
This offcut left over from hull glassing fit perfectly in the cockpit, with no trim require on three sides and not much extra on the other, meant to be.
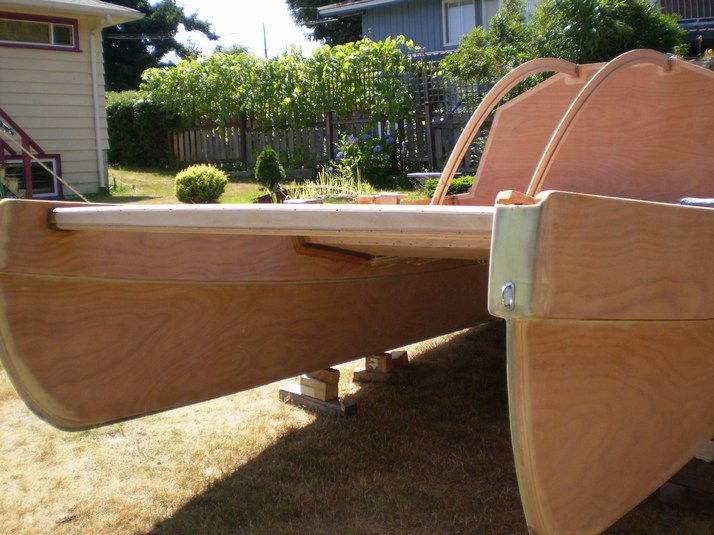
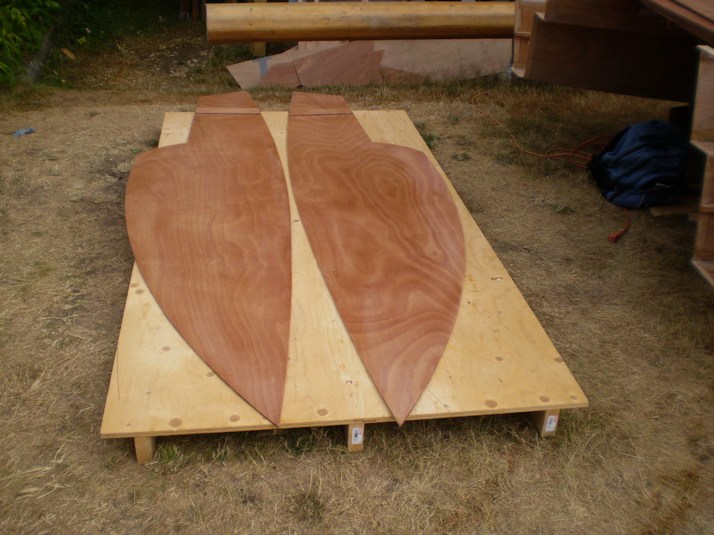
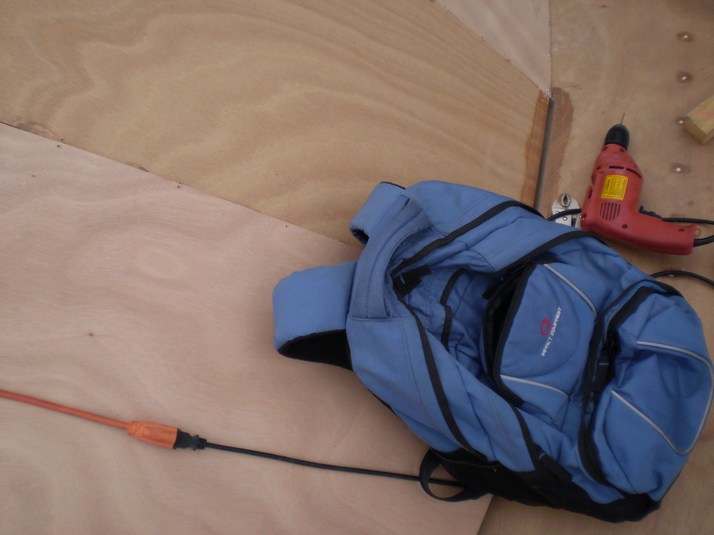
Busy in the shipyard.
Lots of little deck frames.
It all installed pretty well.
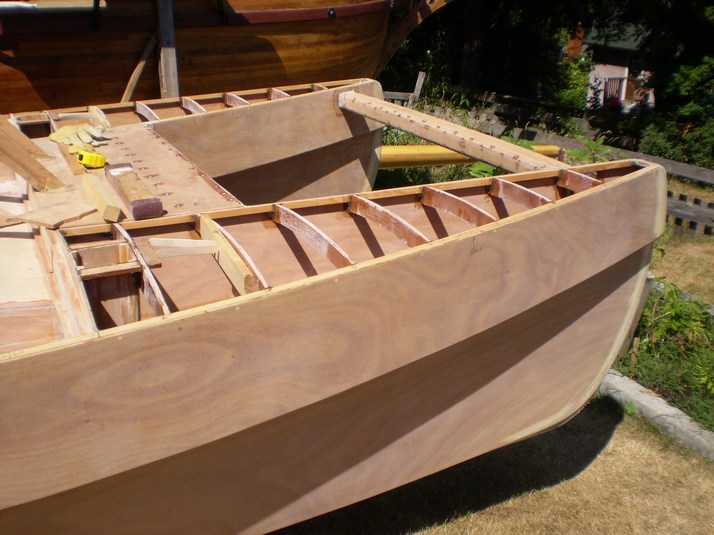
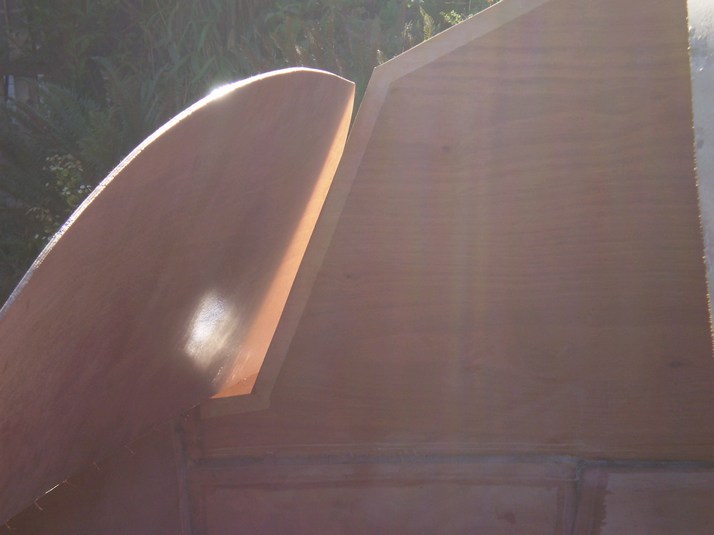
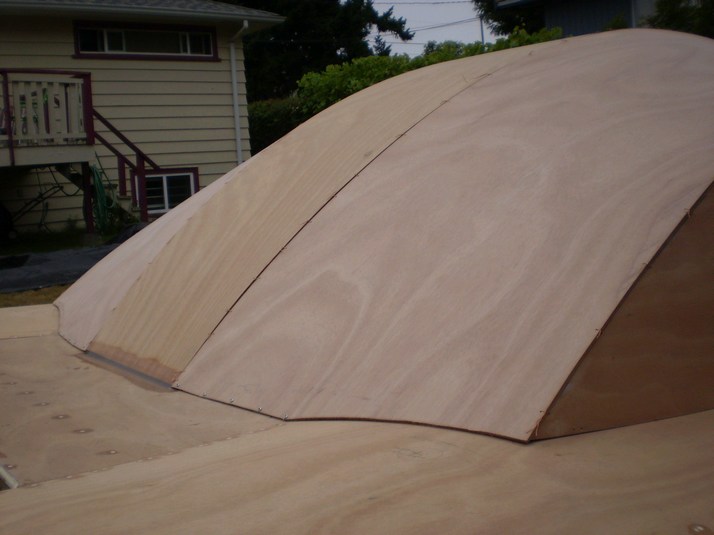
Foredecks are on. They bend in two directions.
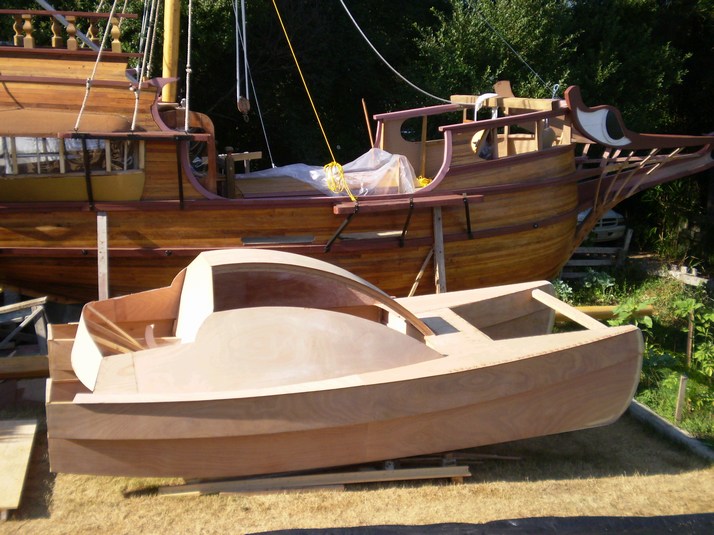
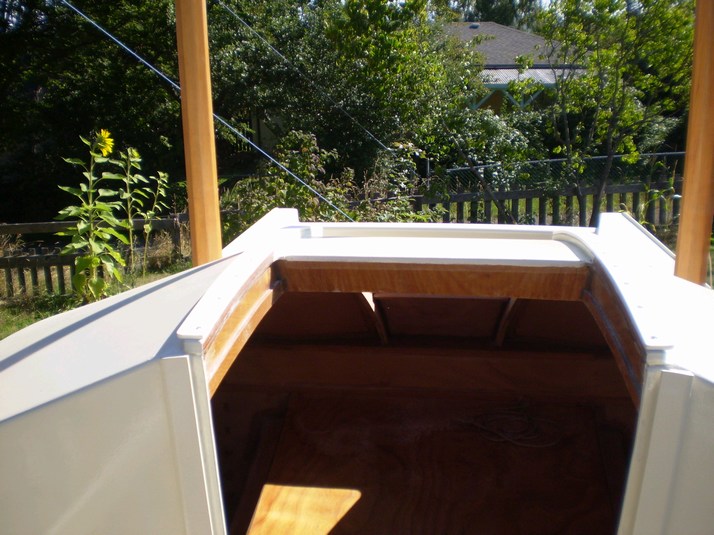
Made the cabin sides and side decks and aft cockpit parts all in one busy go.
An in building design modification, the cabin was tight in the hulls with not enough shoulder width, but there was lots of side deck so I move it out 2 1/2", will fill this gap with some ply and glass.
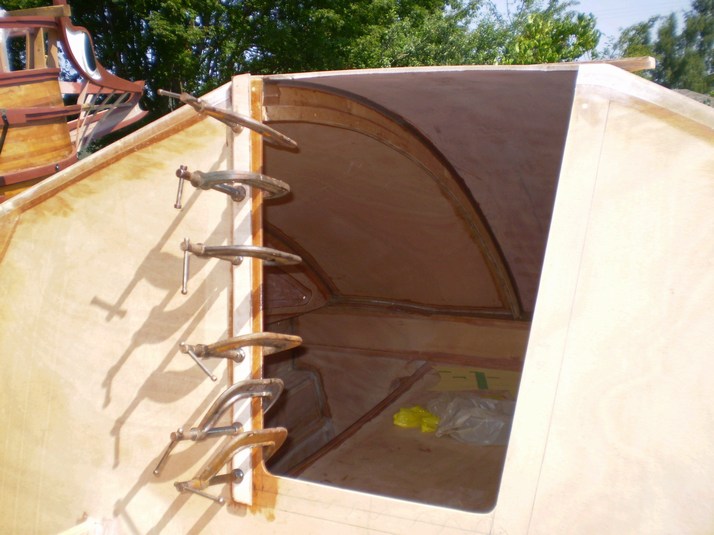
Cabin panels wired in, still need top panels.
Total 225 Hours
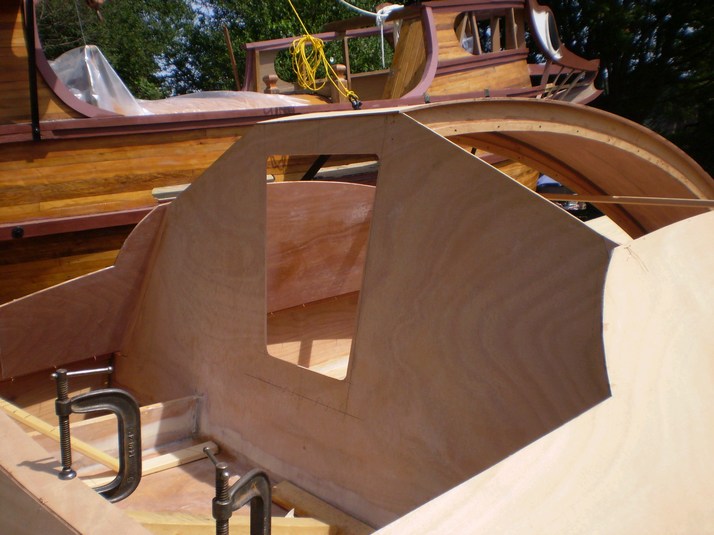
An undersized companion way hatch cut in to allow work on top panels.
The Dell laptop helps out with some Computer Assisted Manufacturing. Used the Skill HD 77 saw on the port side but it's 13 lbs were not as evenly distributed and did not hold down the front of the cabin as effectively when wiring.
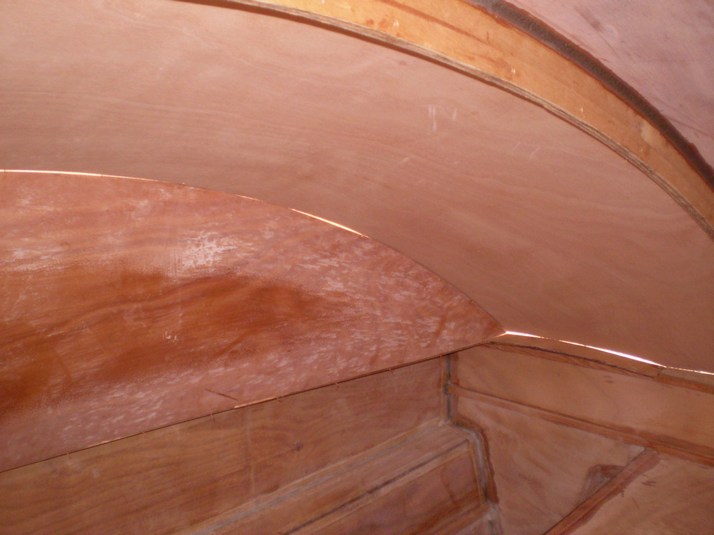
Inside cabin view, fairly spacious, had a brief lie down.
View of the assembled cabin front. The center panel is also a very comfortable lie down spot, would be excellent for reading or day dreaming.
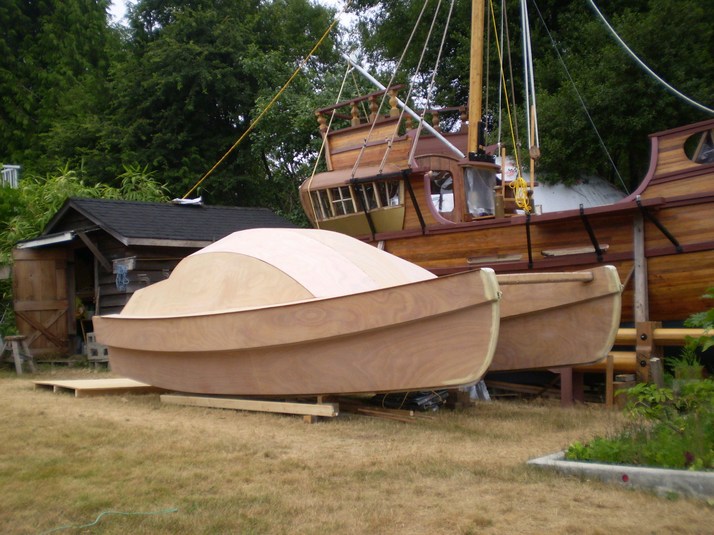
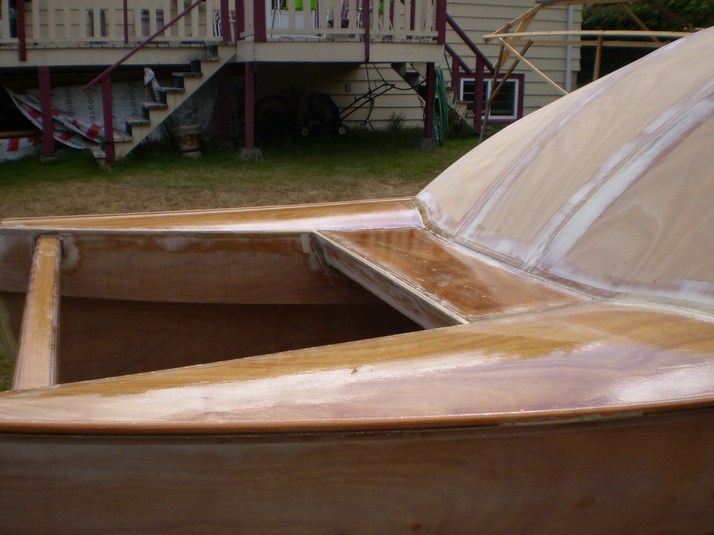
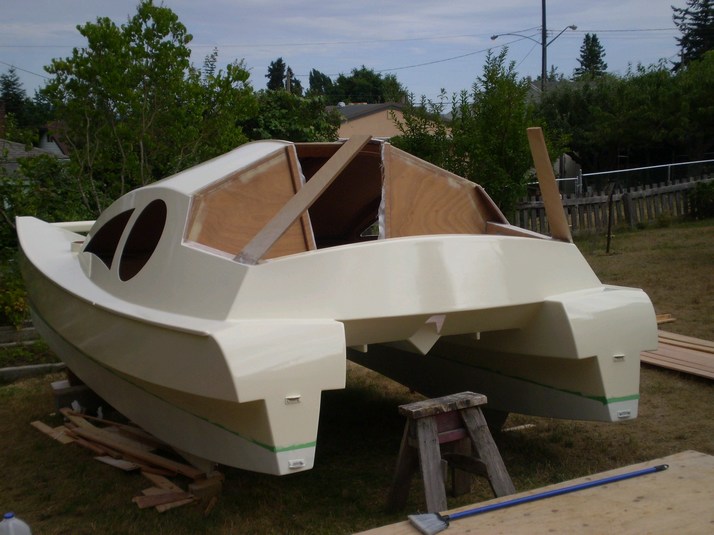
All together now, just needs a bunch of joint glassing, the side decks are not even glued on at this point.

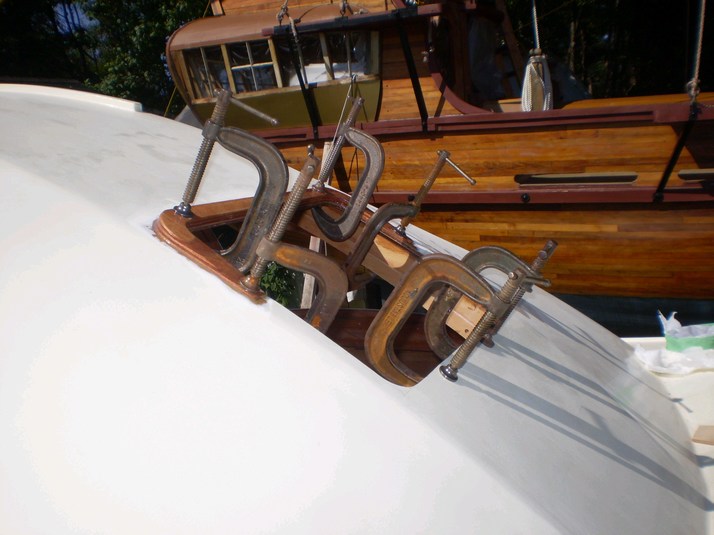
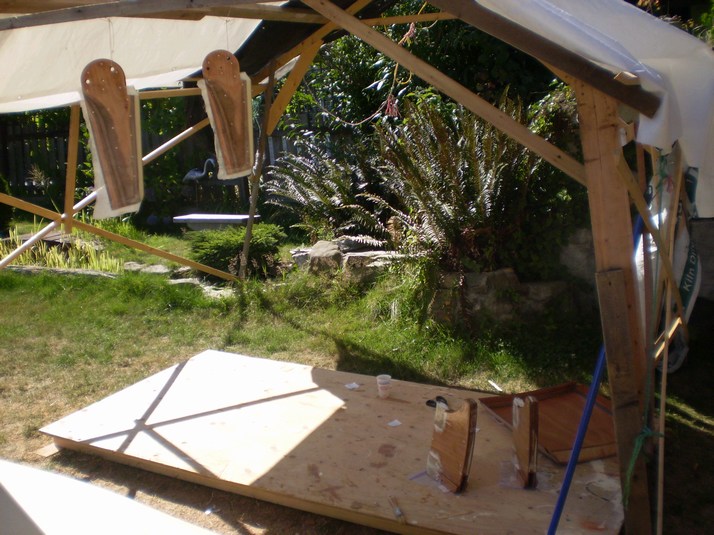
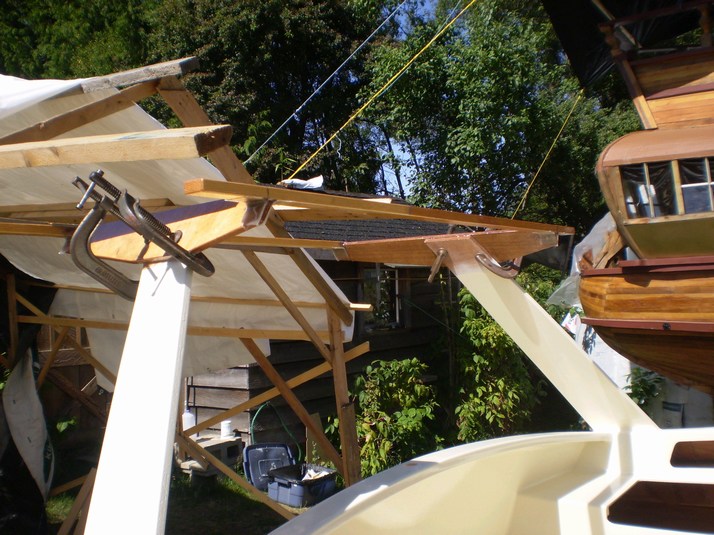
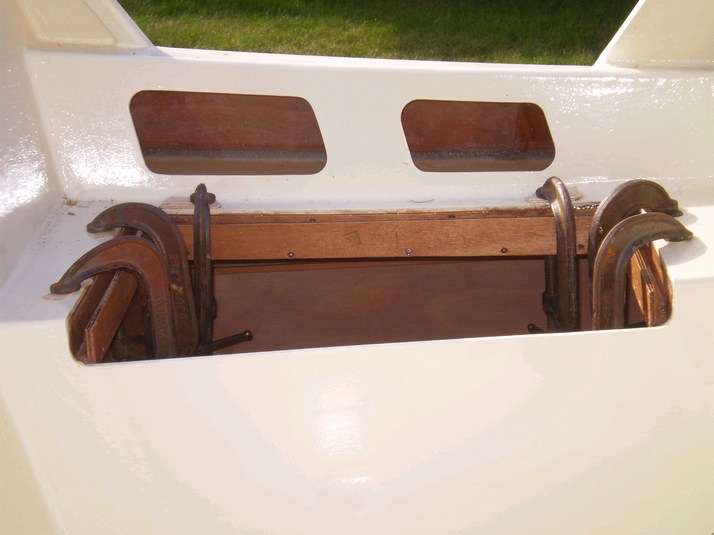
Frogging up the aft coaming clamps and supports.
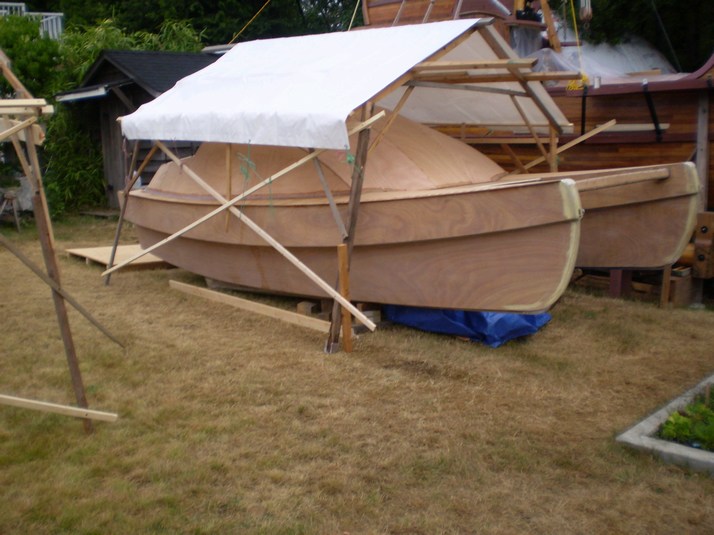
A temporary rain cover.
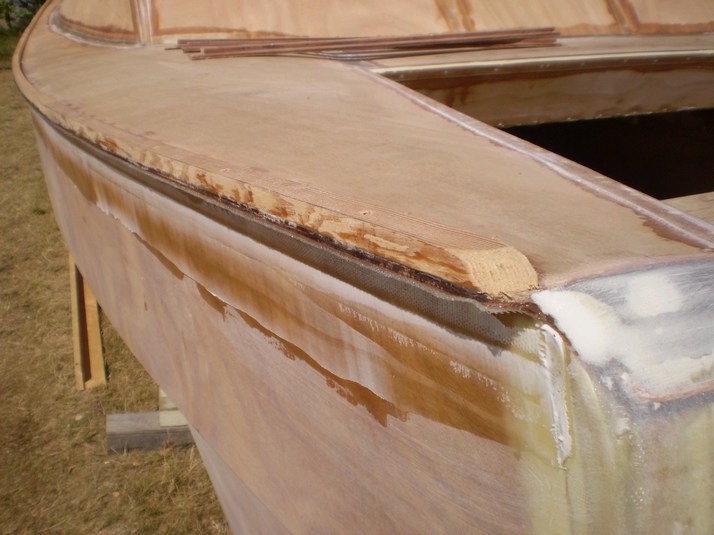
The toerails attached and the hull to deck joint glassed.
All the foredecks glassed. Somewhat difficult and hectic work in the full sun.
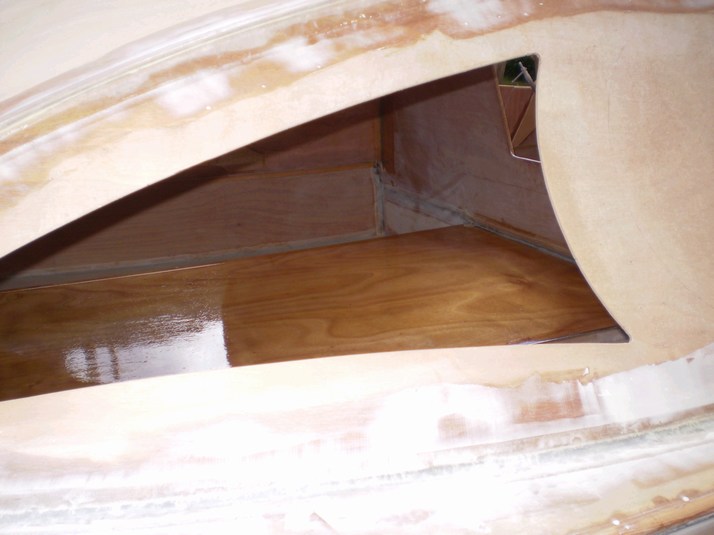
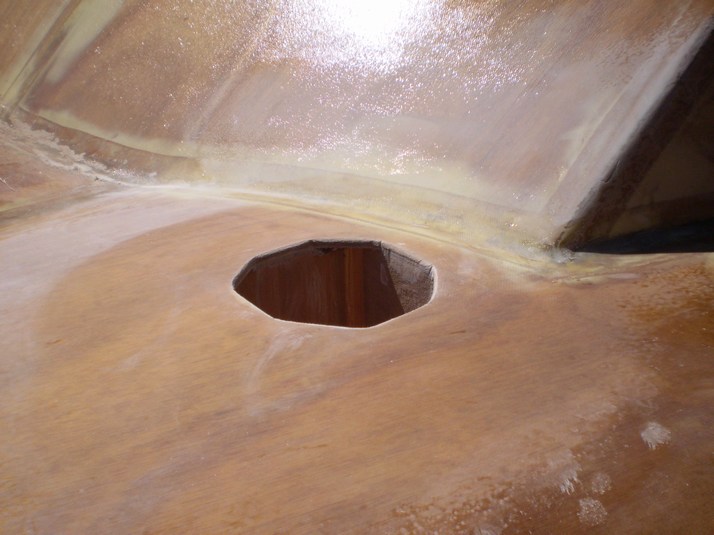
Didn't really enjoy cutting this big hole in the cockpit for the electric motor.
Bunk sealed up. Still a bit of glassing and coating to do in the cabin.
Glueing on the companion way notches.
![]()
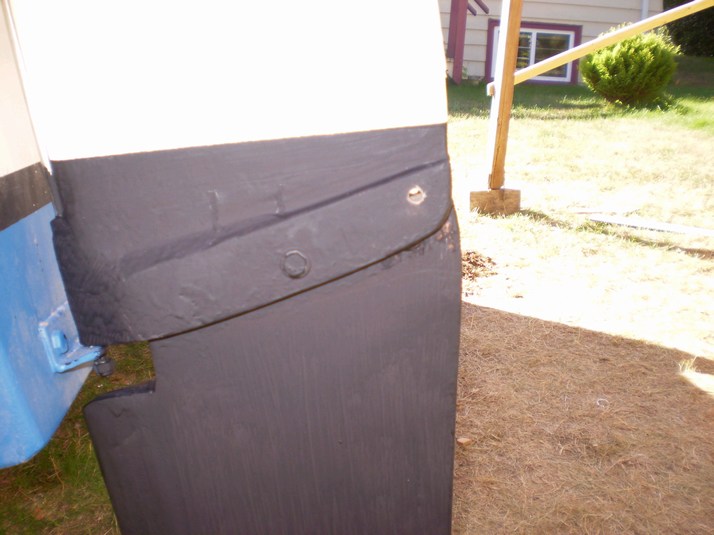
Was not really happy with the transoms on the model, and am not really happy with the transoms I have built here. They are complicated to make and maybe don't look that good either.
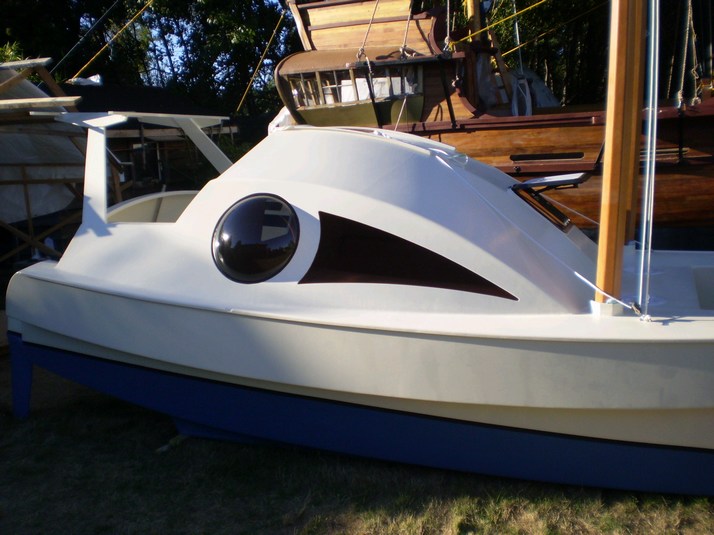
The radar arch ( ha ), actually for the solar panels and to keep from falling out of cockpit astern :)

Robust and simple rudder fittings. Type 316 SS angle with SS pin.
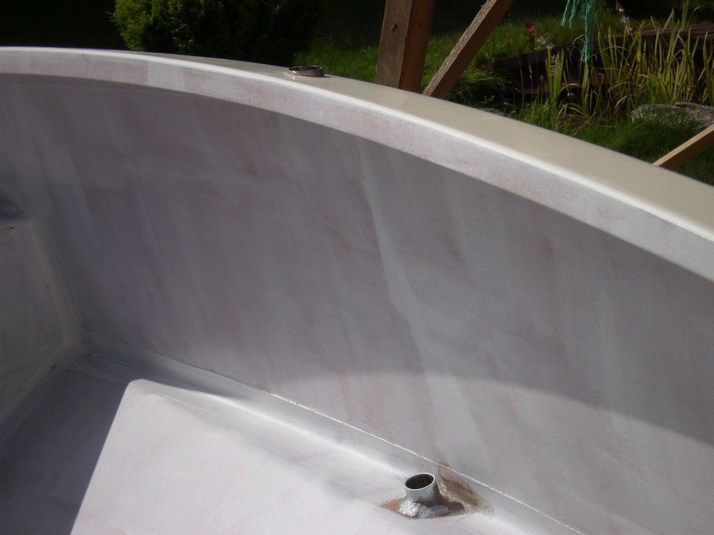
Hulls have epoxy primer on them, and windows have been cutout and all glass is done except for cockpit.
Total 325 Hours
Cutout the decks for the mast entry. This was a bit fiddly as it needed a carefull fit fore and aft and laterally.
This collar will be taped to the mast to keep water out of the mast supports.
Finally got around to glassing the cockpit.

Cutouts for the cockpit lockers, had to do a couple of the corners by hand as the jigsaw could not fit in the space.
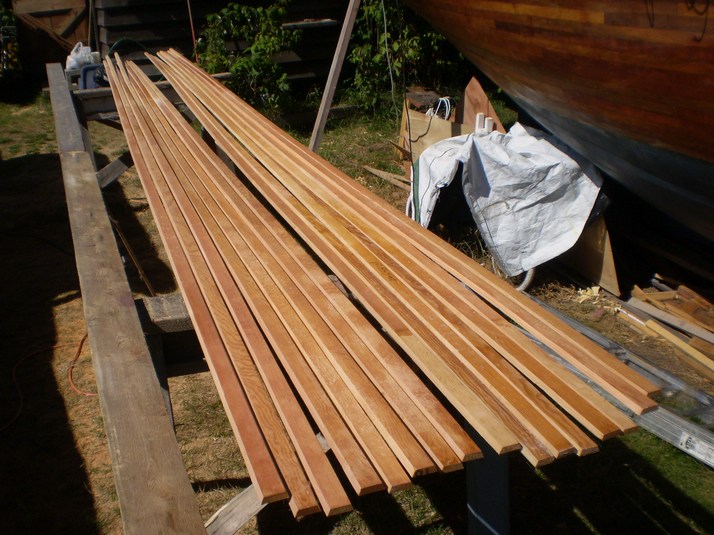
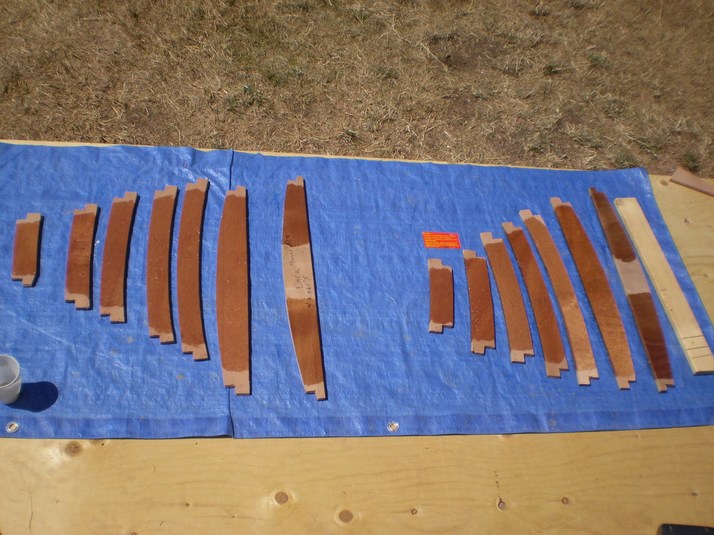
Spent a bunch of hours cuting miles of tapered mast pieces.
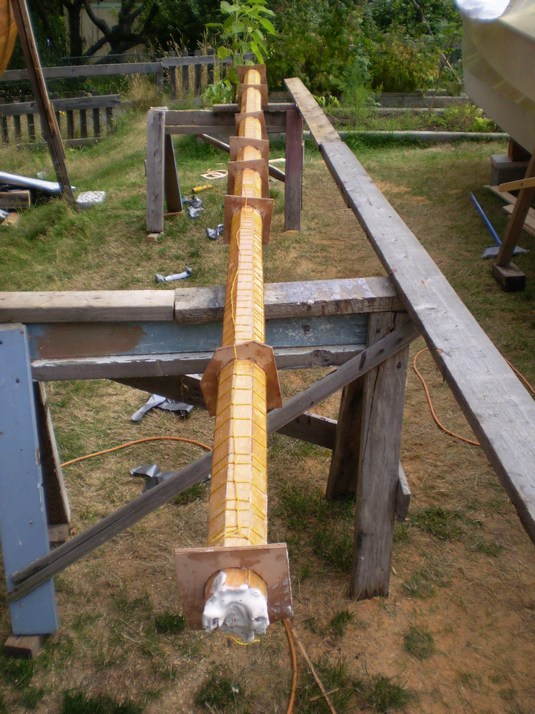
A bunch of circle ply pieces to get it square, and bunch of twine to clamp it, not quite a mast bench but managed to get a small aft curve in both masts per the plan.
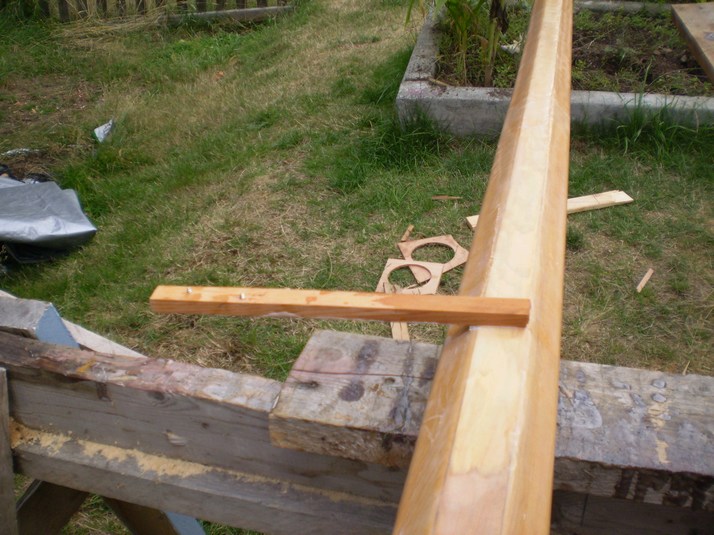
Some dufus forgot to put plastic on the support stick, he will have to sand that off later.
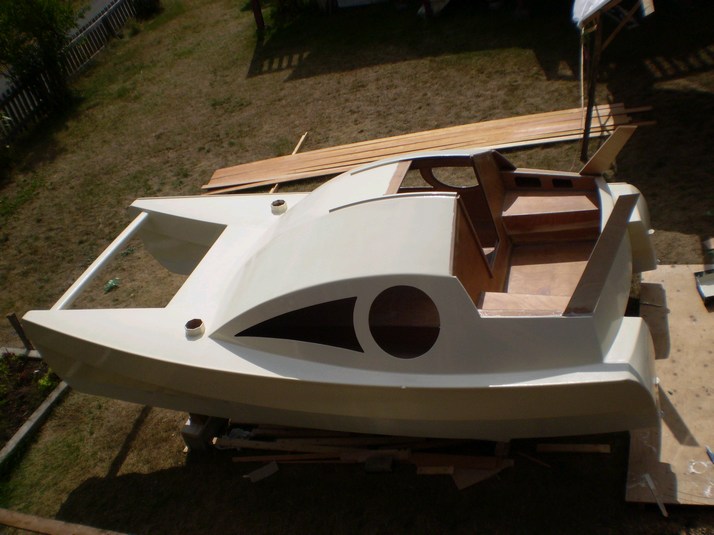
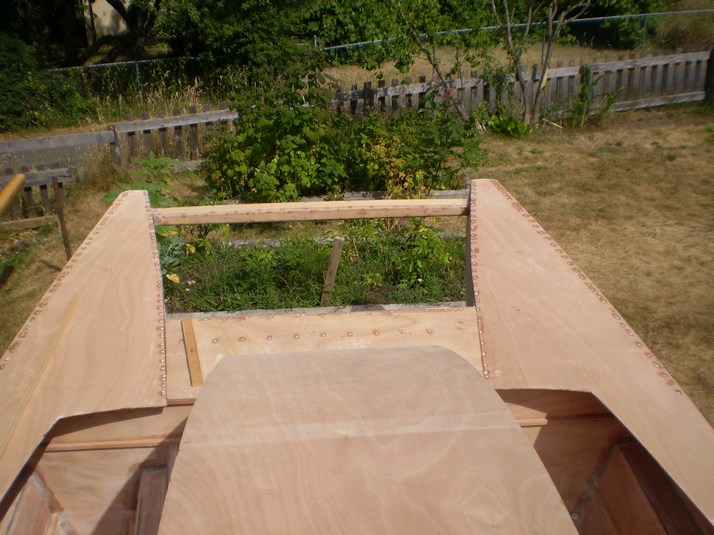
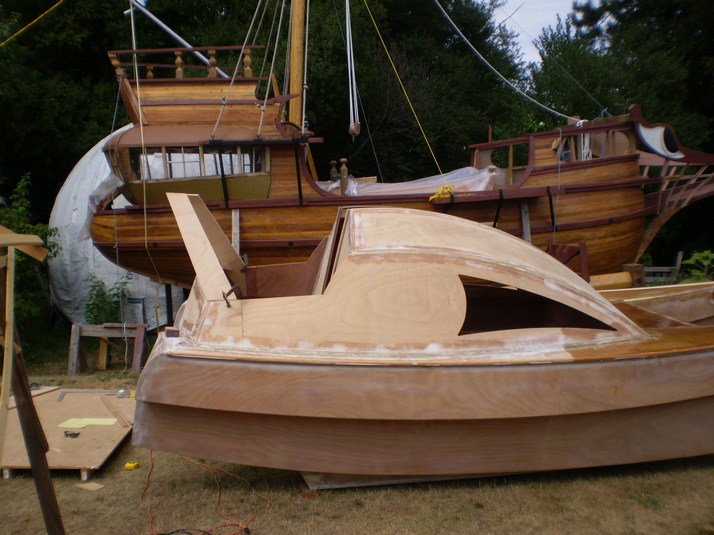
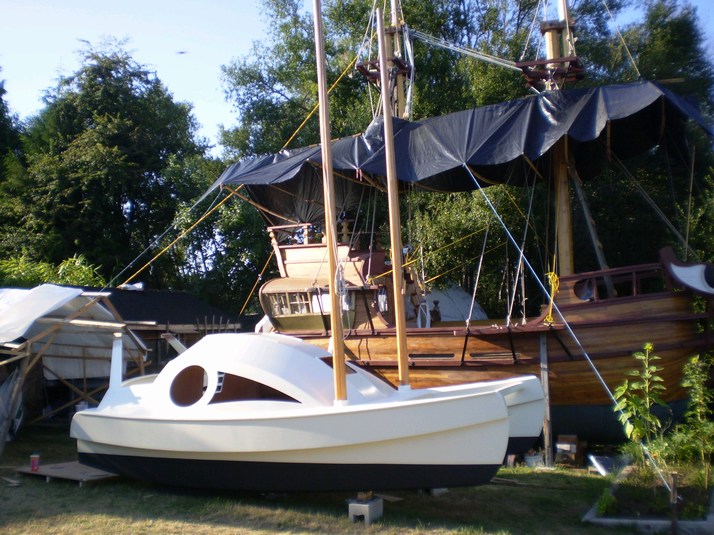
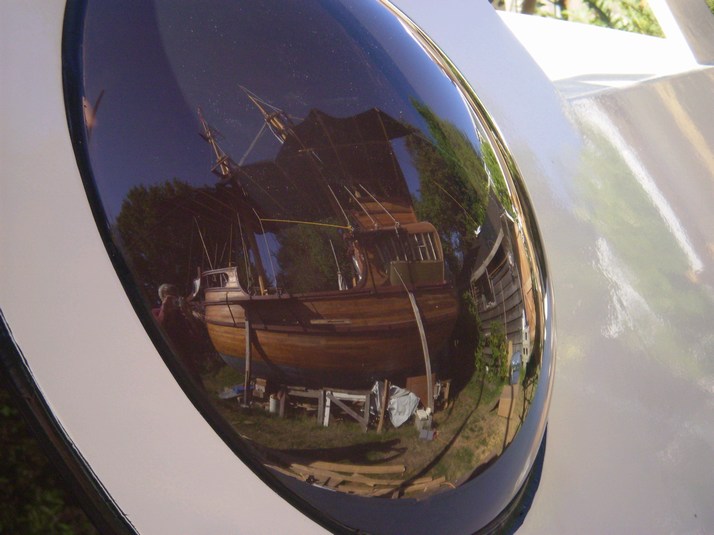
Out of sequence but a nice seagull's eye view.
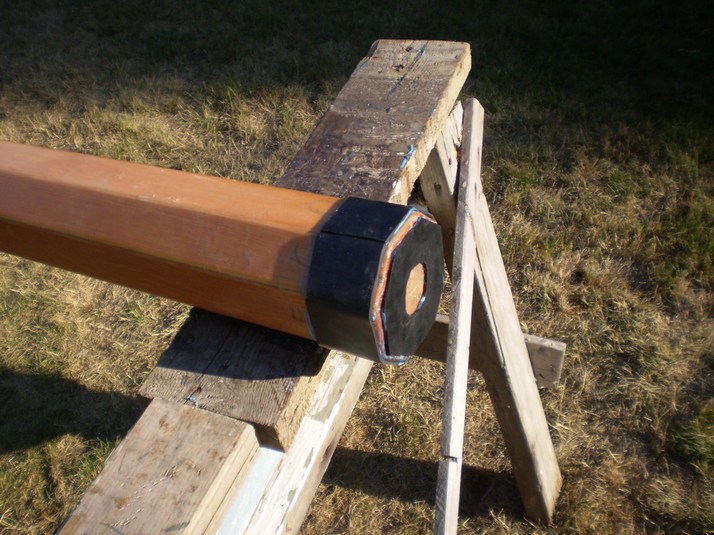
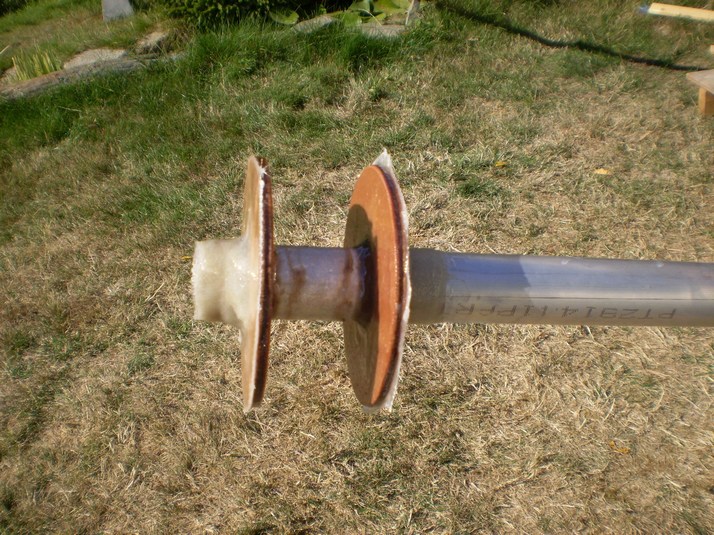
Tiller post is some 1" .065 wall for the tiller which is 7/8 OD. Naturally this took a bit of extra work to sand
down the 1" to have a bit of slop.
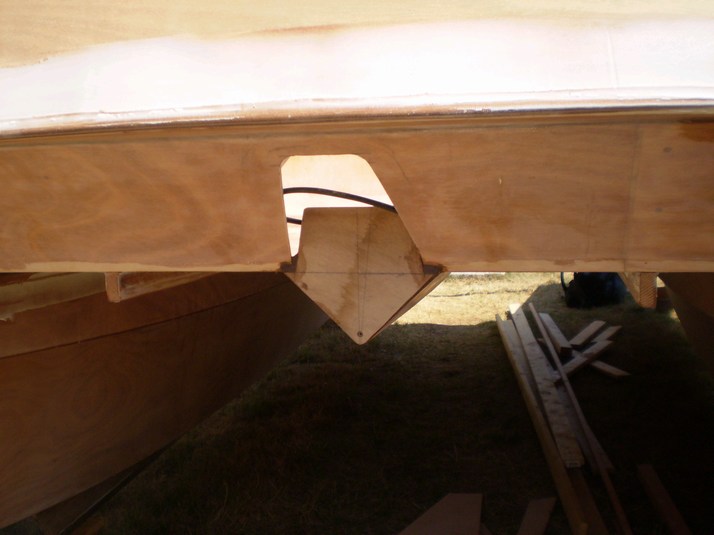
A little wedge to make a flat for the forward hatch, and as well a stiffner for the ply on the bottom inside.
Some 1/8" neoprene on the base of the mast to keep from mashing the mast support when jumping around in slop. There will be some hardwood wedges at the deck to keep that still.
One of the longer work days, 10.5 hrs, two coats of varnish on the mast, painted first coat of bottom paint, painted international orange under bridge ( with non skid ), sealed ply on window frames, made funny frame for forward hatch, painted cockpit, painted cabin top with non skid, put hardware on masts, put rubber bumpers on masts, stepped them in the boat.
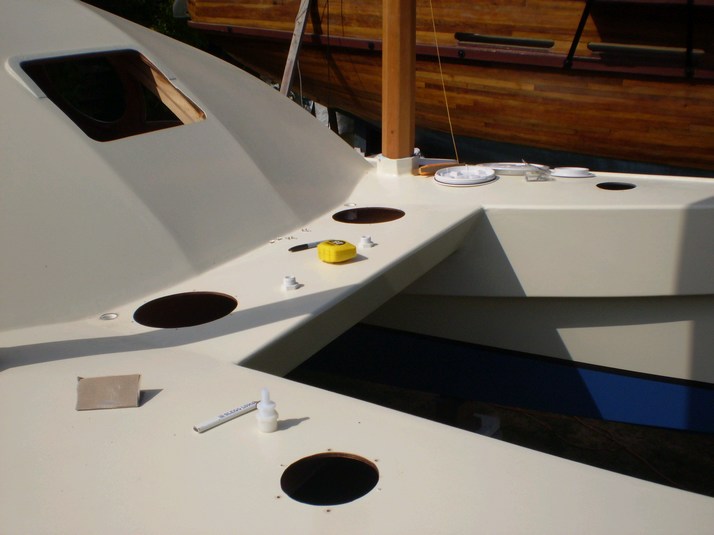
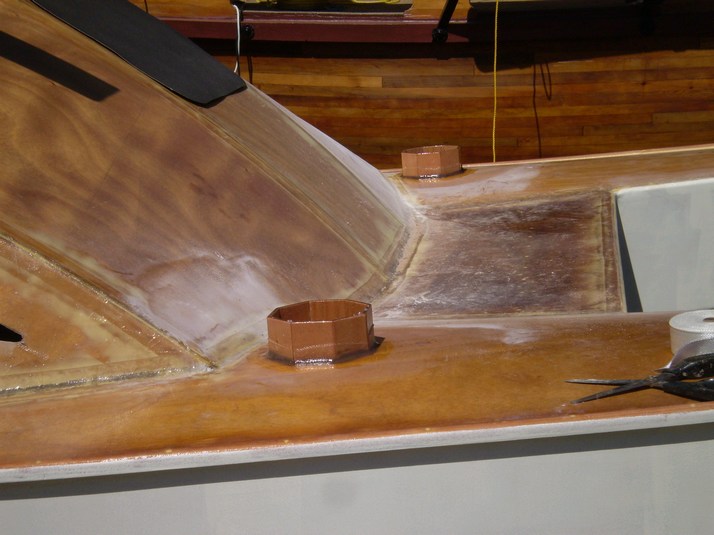
Bunch of holes, including the fasteners about 32.
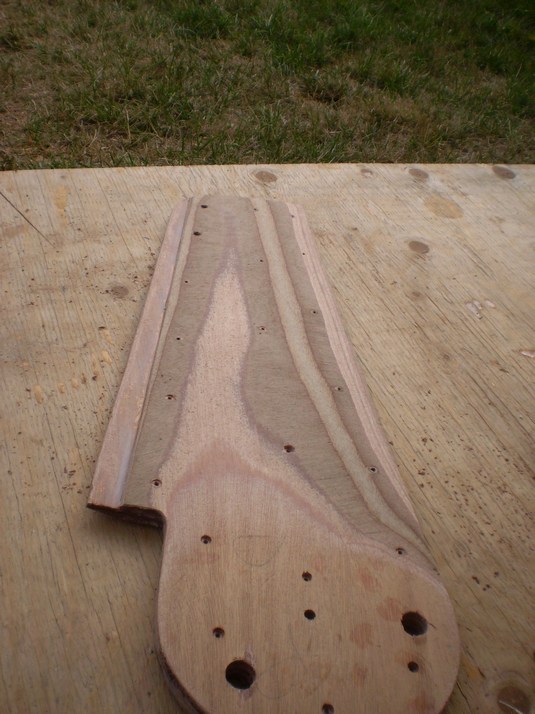
Rudder shaped up and ready for glassing.
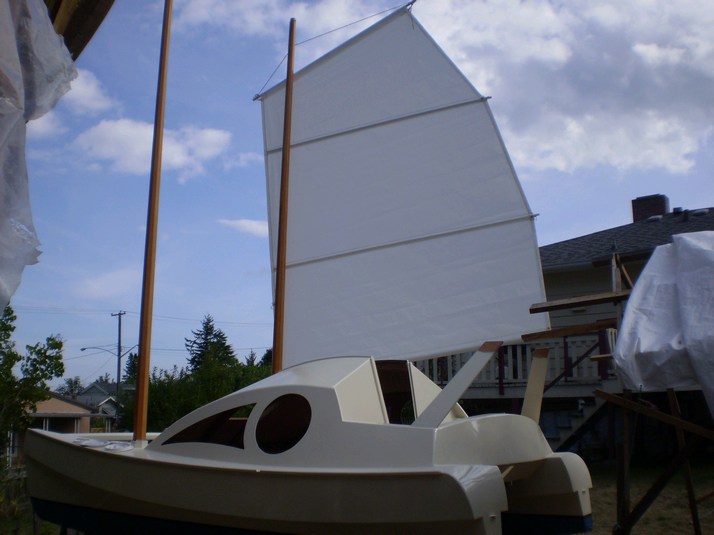
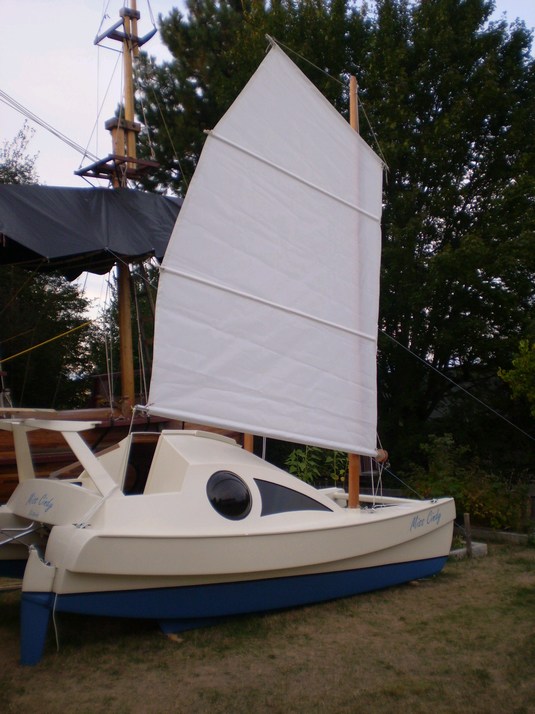
Sewed that sail myself. Looks pretty and set pretty nicely too.
A view the fishies might see.
Total 425 Hours
Hatch rails made of seaboard plastic.
Hatch made the old fashioned way, ply goop and glass, curved rails were a fun challenge.
Rudder bits and the hatch, reminded me of bakers 'strange fruit'. Even thought I knew they were there I still got epoxy in my hair.
Putting the 'radar arch' together, fiddly work. Still probably should have been a couple inches further aft.

Good look at the rudder rods, backwards arrangement but will work well, looks better that the model with the funky curves of the rudders.

Gotta love those bubbles, bought out of Nova Scotia and custom built for $50 each in maine.
Roll your own roller furling, cool.
Rudder shear pin hole. Details details DETAILS, that's were god is.
Hatch drains channels, I hate making these things.
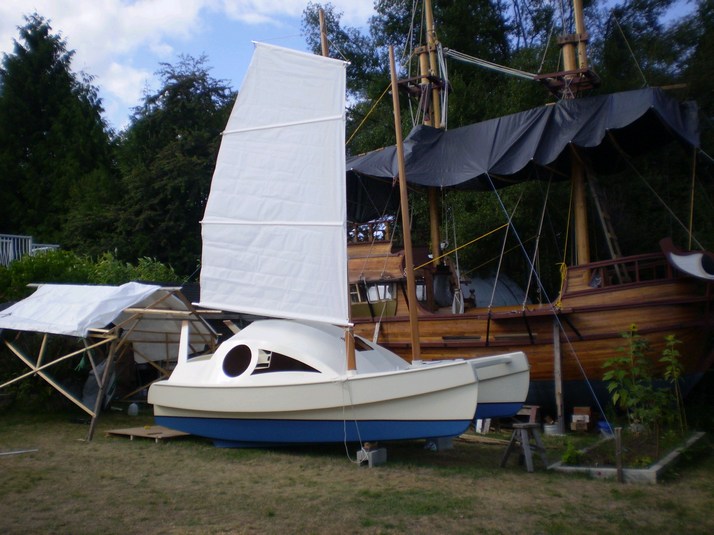
Rigged, roller furling works pretty well.
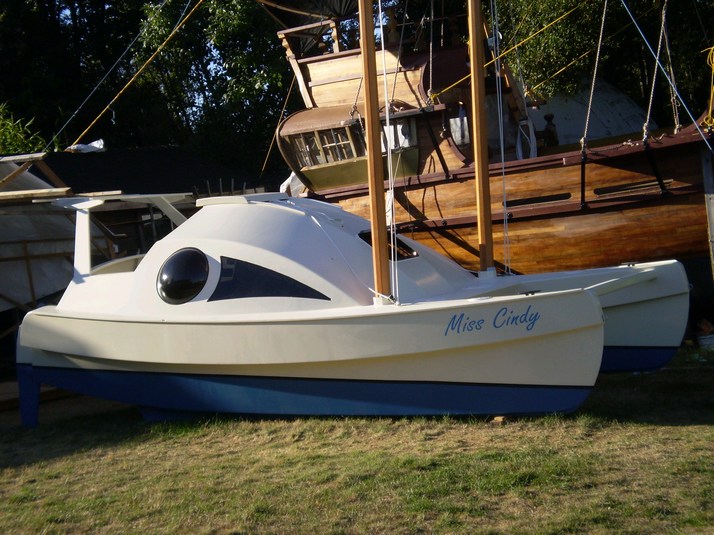
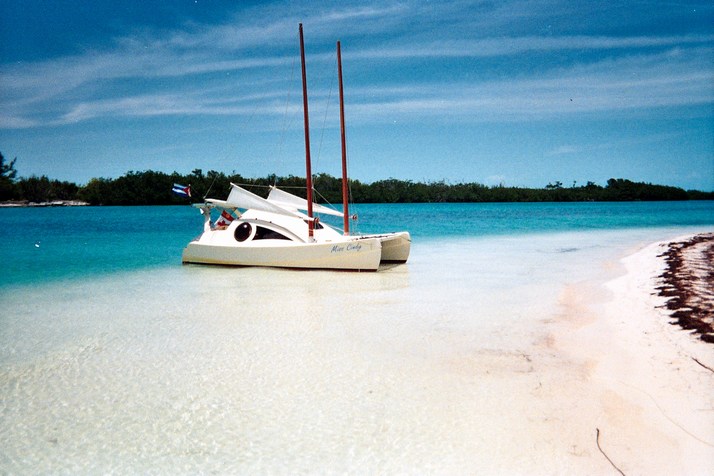
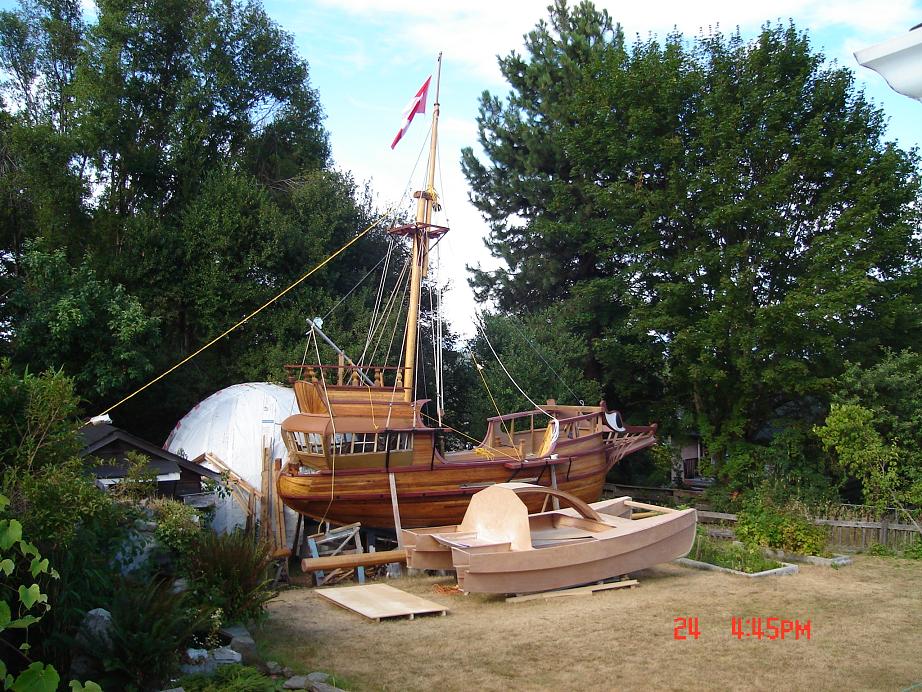
Ready to launch. Miss Cindy, Canadian registered vessel. 1.32 net tonnes.
Copyright © 2008, 2009, 2010 Tony Bigras.